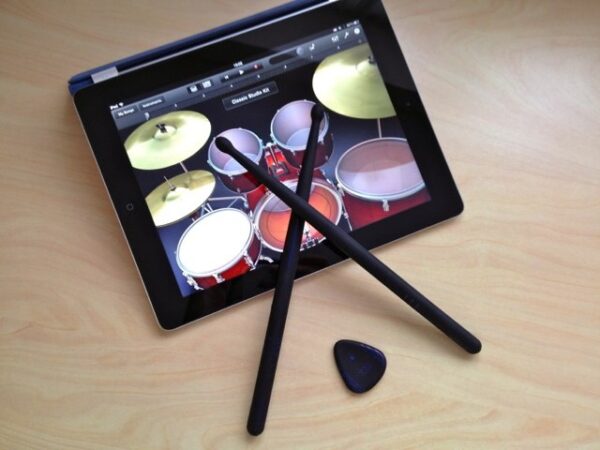
GarageBand is great for music creation, even if you don’t have a full band to record. Whether you want to record yourself playing and add a backing track, or just want to create a song from scratch, the app features a range of built-in audio loops that can be mixed together to form any kind of track you like. With a large number included for free, and more options available via a one-off purchase in the app, there are plenty of options for creating your perfect sound. And, with the new Drummer offering a quick and fun beat, you’ll have an amazing track in no time.
Step By Step: Mastering Garageband Get The Most Out Of Garageband’s Editing Interface
1. New Project
When you first open GarageBand, you’ll be prompted to open or create a project. For your first track, choose the Empty Project option to give yourself complete flexibility.
2. Software Instrument
You’ll be immediately asked to add your first track. Choose Software Instrument as your first option, which will let you tap out some notes on your keyboard.
3. Choose A Sound
Before you start, use the Library drawer on the left to try out different sounds. Pick one, then play a few notes with your Mac’s keyboard to see if it’s right for your track.
4. Play It Loud
To start recording, click the red button in the top toolbar, or simply hit the R key on your keyboard. Then, start playing the on-screen instrument to start recording your track.
5. Track Controls
You can use the controls on the left-hand side of the Timeline to control specifics of each track. Edit each track’s volume with the slider, listen to only one track, or mute it entirely.
6. Loops Library
Click the Loops library button in the top-right of the window to open it up. Here you’ll find pre-recorded snippets of audio using all kinds of instruments for you to use.
7. Find What You Want
Click the genres and sounds to narrow down the selection in the list below, and use the dropdown box to select your key. To preview loops, simply click them in the list below.
8. Drag And Drop
When you find a loop you like, drag and drop it into your Timeline. To view the loop more closely, double-click it to open up the Editors panel at the bottom of the window.
9. Pitching
In this panel, click Region and you can use the Transpose slider to change the key of the loop. If your chosen loop doesn’t immediately sound right, play around here.
10. Duplicate
If you want to duplicate a loop so that it repeats in your track, hold down the Alt key on your keyboard, then click and drag the loop across to the right. A copy will be made.
11. Drummer
Finally, add a beat to your track with Drummer. Click the ‘+’ button and choose a new Drummer track, then play with the options to create a personalised drum track.
This article is written by Nathan, who is being app developer and a blogger. He recently read a great guide on how to create Title Credit in Imovie on the mapptest.com blog and found it very interesting.


Excellent! I admire all the helpful data you’ve shared in your articles. I’m looking forward for more helpful articles from you- Regards